Dingbat Mask Frame Tutorial

Inspiration for this PSP7 Group May Challenge tutorial came from several mask images used in online tutorials by Haylers' Heavenly Creations and Rhiannnon's Mask Tutorials . Some of the decorations in the masks they use reminded me of dingbat font characters. This tutorial is based on my own creations from scratch using PSP7 and the dingfonts others created. You now have no excuse for not using fancy frames on your graphics.
You should be familiar with the various PSP7 tools mentioned in here. If you've never used the mask feature before, please consider trying my Masks and Frames tutorial first. It focuses on creating a mask and making a frame while this one focuses on creating the image used to make the mask.

The only thing other than PSP7 you must have to do this tutorial is a dingbat font. Please read this information first to make your tutorial time more productive and answer some of your questions about dingbat fonts.

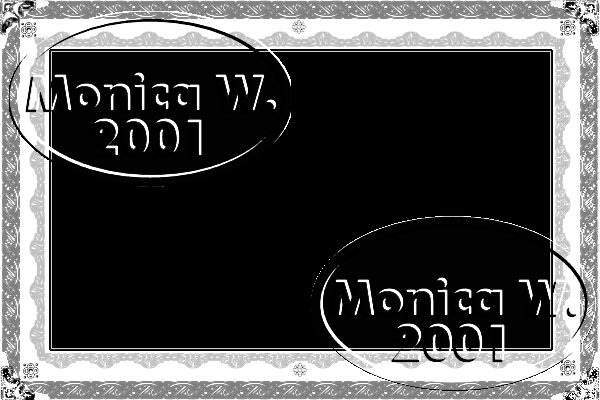
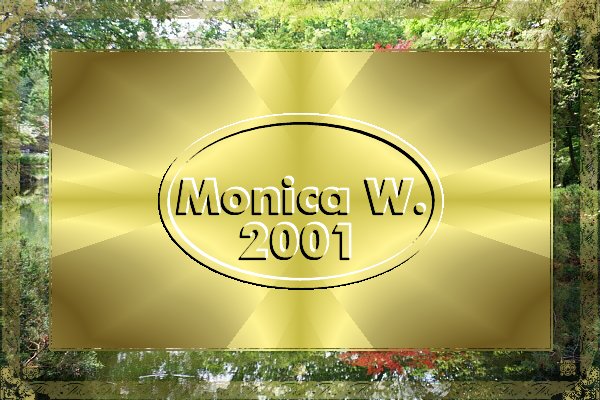
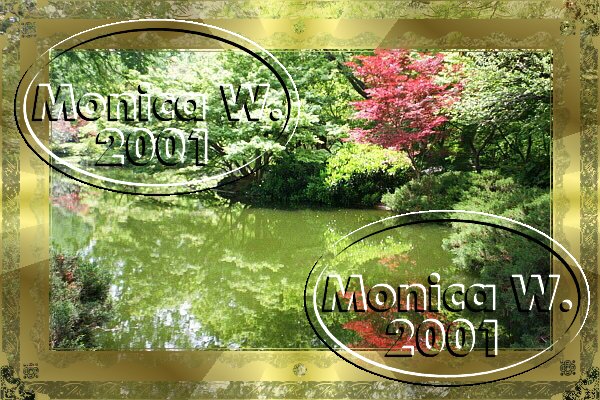
| Frame created as .jpg | Frame as inverted mask | Frame as mask | |
|---|---|---|---|
 |
 |
 |
|
| White = no show through | |||
| Black - full show through | |||
| Grays = controlled show through | |||
| Invert means the white and black properties are reversed | |||
| If I want to use the middle frame, I would erase the useless middle after I deleted the mask from the frame. |
For those who had trouble with the first 5 steps, here is a set of files to get you ready for step 6. Download this file and unzip it. Choose one of the files to open and work on. One is portrait and the other is landscape. You will need to have your dingfonts ready.
- Open a new 600x400 transparent image with 16 million colors
- Add a new layer named Black. Flood Fill
 with black. Save
  your work.
- Add a new layer named White. Choose the preset shapes tool
 and choose Rectangle, width 1. Set foreground to black and background to white. Using the preset shapes tool, draw a rectangle from 50,50 to 550,350.
Save your work.
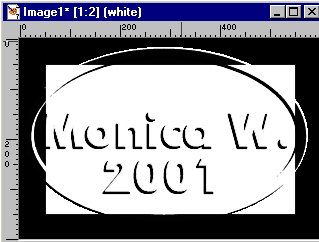
- Now, use the magic wand
 to select the area outside the rectangle. Flood fill the "frame" with white. You should see a thin black border around your rectangle. That's why we did it this way- to get the white border and that special black border too. Select none. Save
  your work.
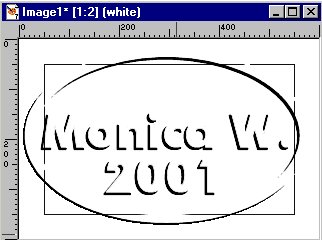
- Now, use your magic wand to select that center white rectangle you made in Step 3. Go to Selections -> Modify -> Contract and put a 1 in the Number of Pixels field and then click the OK button. Hit your delete key. We don't need it anymore and you'll see the nifty thin inner white line it left for us. Select none. Save your work.(Are you noticing a trend here yet?)
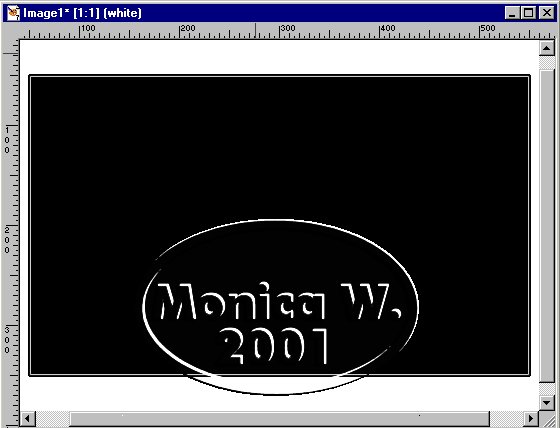
- Now, time to create the pretty stuff with your dingbat fonts. Add a new layer. I'm calling mine Outer Top. Using the text tool
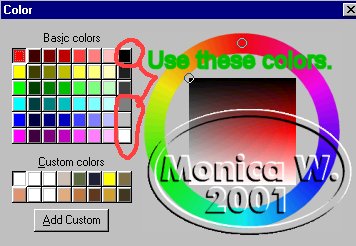
 - foreground set to dark gray 808080 and background null, add a dingfont character of your choice. Text line width set to 1. I'm using 'q' from Ornaments 4 in size18. Place the character and copy/paste as new selection to fill the area across there. Save your work.
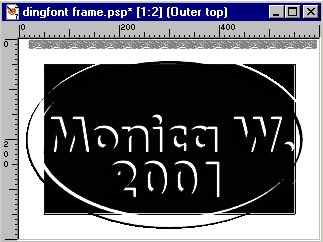
- Duplicate Outer Top layer. Rename this layer Outer Bottom. Image Flip and Effect-Sharpen Sharpen. Select none. Save your work.
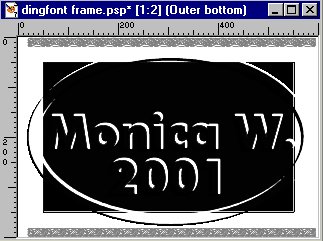
- Paste as new layer. Rename layer to Outer Left. Image->Rotate 90 Right. Effects->Sharpen->Sharpen. Duplicate layer. Select none. Save your work.
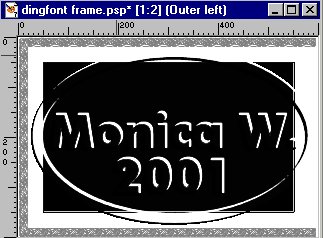
- Rename layer to Outer right. Image -> Mirror. Effects->Sharpen->Sharpen. Select none. Save your work.
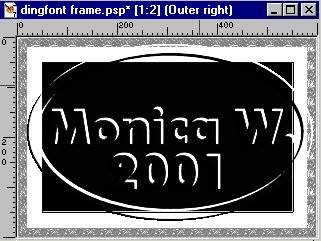
- Cleanup time. On the various outer layers select and remove the excess material. I'm leaving my outer corners empty to add another character later. Save your work.
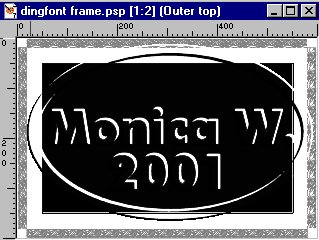
- Create a new layer named Inner Top. Change your foreground to C0C0C0 and set background style to null. I chose the Ornaments 4 font 'u' in size 20. Text tool set to width 1. Type the character and then Image->Flip and Effects->Sharpen->Sharpen. Copy and paste as new selection to fill the horizontal area. Save your work.
- Duplicate Inner Top layer. Rename this layer Inner Bottom. Image Flip and Effect-Sharpen->Sharpen. Select none. Save your work.
- Duplicate layer. Rename layer to Inner Left. Image->Rotate 90 Right. Effects->Sharpen->Sharpen. Duplicate layer. Select none. Save your work.
- Rename layer to Inner right. Image -> Mirror. Effects->Sharpen->Sharpen. Select none. Save your work.
- Cleanup time. On the various inner layers, select and remove the excess material. Save your work.
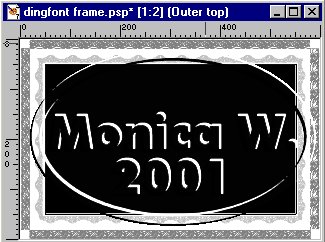
- Merge visible all the outer layers and rename merged layer Outer.
- Merge visible all the inner layers and rename merged layer Inner. Save your work.
- Adding Corners.
 I'm using the Ornaments 4 'a' width 1; Foreground white; Background null; Size 36; Selection and Antialias checked. Add a new layer Corners above your Outer layer. Add the corner character to the upper left corner. Copy and paste this in the other 3 corners. (Note: This font comes with the same corner already rotated for you. Characters are 'a', 'b', 'c' and 'd'.) Remember to Effects->Sharpen->Sharpen after any mirror or flip you do. Select none. Save your work.
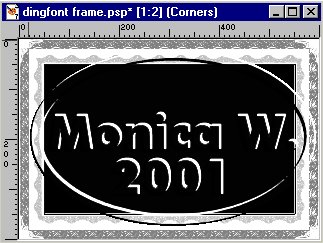
- Select
 and hold down Shift key while selecting each of the corners. Go to the Outer layer while the selection is on. Erase large areas directly in the selections. The selection keeps us erasing in the lines and not wiping out our frame that will be visible. Select none. Save your work.
 - Continue to embellish your frame as you wish. When you are done, save as a psp file. Make a Shift-D copy to merge all or part of the layers and make into a mask. Masks->New->From Image. And Save to disk [mask stretches to fit your graphic] or save to alpha channel [mask stays the same size].
- To use these, I make a Shift-D copy of my image to frame. Add a new layer. Add the mask. You can fill the mask with any color or pattern you want and then delete the mask. Then, I add any effects to that layer if desired using any filters in PSP7. You can add drop shadows too. You can even save these frames alone as grayscale .pfr files to colorize yourself later.
- By using copies of your original .psp file, you can create a variety of mask frames by controlling which layers are visible when you create a mask from image.

Take a look at some samples of my work.

Do not send the file as a .psp -- it eats lots of space and irritates people in addition to costing some members $$$ to view their email. We all thank you.


PSP7 tool icons are from MaMaT's icon tubes.
"PSP" refers to
CorelTM Paint ShopTM Pro®.
The individual creators own the copyrights and/or trademarks on their respective software filters, fonts, presets, Quick Guides, scripts, magazines, and images/banners which are mentioned or appear on these pages.
Customizable layout provided by Blue Robot CSS layouts. Note that I changed the colors, background and customized the CSS for my site.
© Copyright 2001-2011, Monica Wallek, All rights reserved.
Using my tutorial, means you agreed to these usage terms. All page elements, tutorials, and explanatory and sample graphics belong to me except where otherwise noted.
